How do I create a document type?
Go to Safety > Document Types, click Create Type, fill in the name, type and description, then click Create.
Before you start
- There's no option to edit or delete a document type, so check the name and description carefully.
Steps
- In the left menu, under Safety, click Document Types.
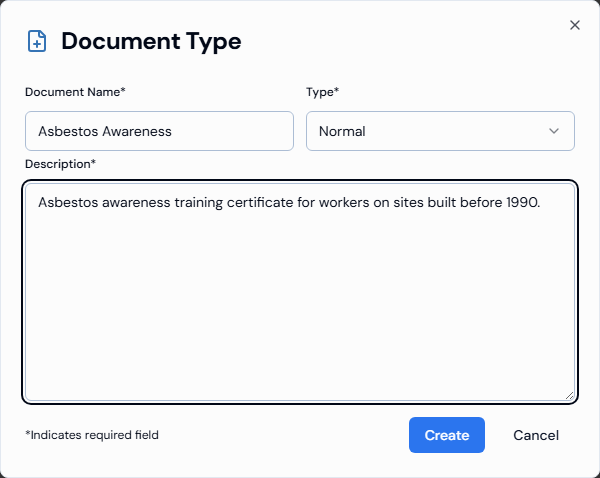
- Click Create Type in the top-right corner. The Document Type window opens.
- Enter the Document Name*, for example "White Card" (2 to 50 characters).
- Choose the Type*: Normal for everyday documents, or High Risk for documents linked to high-risk work, such as a licence to operate heavy machinery.
- Enter a Description*, for example what the document is or who issues it (2 to 200 characters).
- Click Create. You see "Document Type created successfully." and the new type appears in the list.
Good to know
- You can also add a type while uploading a document. On the Upload Document panel, click Add new type next to Document Type. The new type is selected for you and saved like any other.
- You choose whether a document is mandatory when you add it to a category, not here. See How do I create a category?
If something goes wrong
- The window won't save: check every required field is filled in. The name must be 2 to 50 characters and the description 2 to 200 characters.
- Can't see Document Types: these features may not be turned on for your organisation. Ask your Swift Checkin administrator.