Projects
See the projects in your organisation. Site managers can also create and edit projects and set the site area on the map.
View your projects
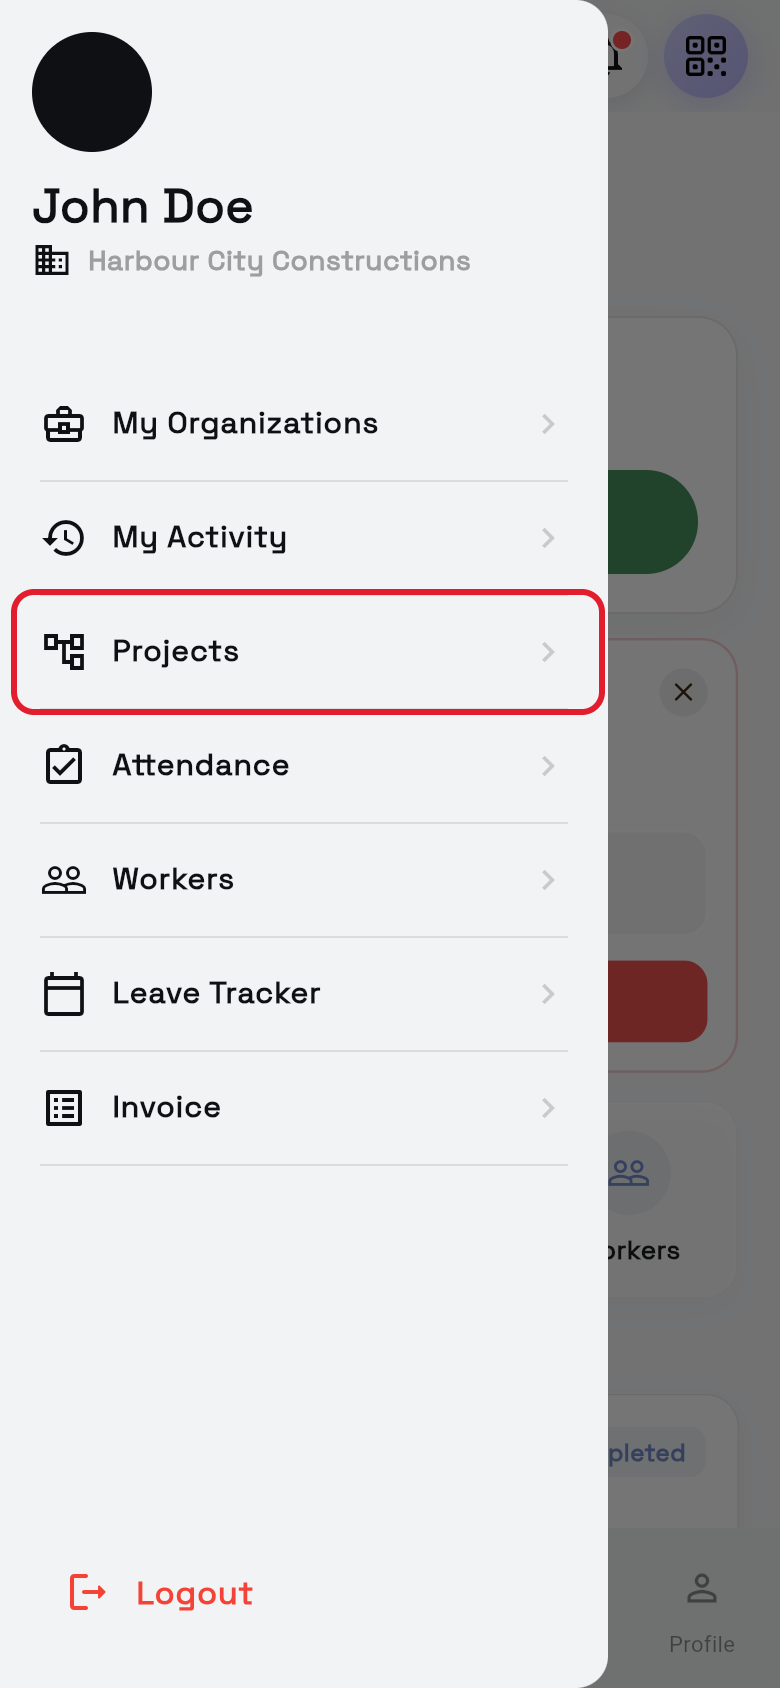
- Open Projects. Tap ☰ in the top-left corner, then tap Projects.
- Check the count. The top shows how many projects there are, for example 12 Projects.
- Read the cards. Each shows the project name, its status and START and END dates.
- Status: Active, Pending, Completed or Delayed.
- TBD means no date is set yet.
- Find a project. Type in Search projects by name..., or tap X to clear it.
- Edit a project. Site managers can tap a card to change it (see Edit a project).
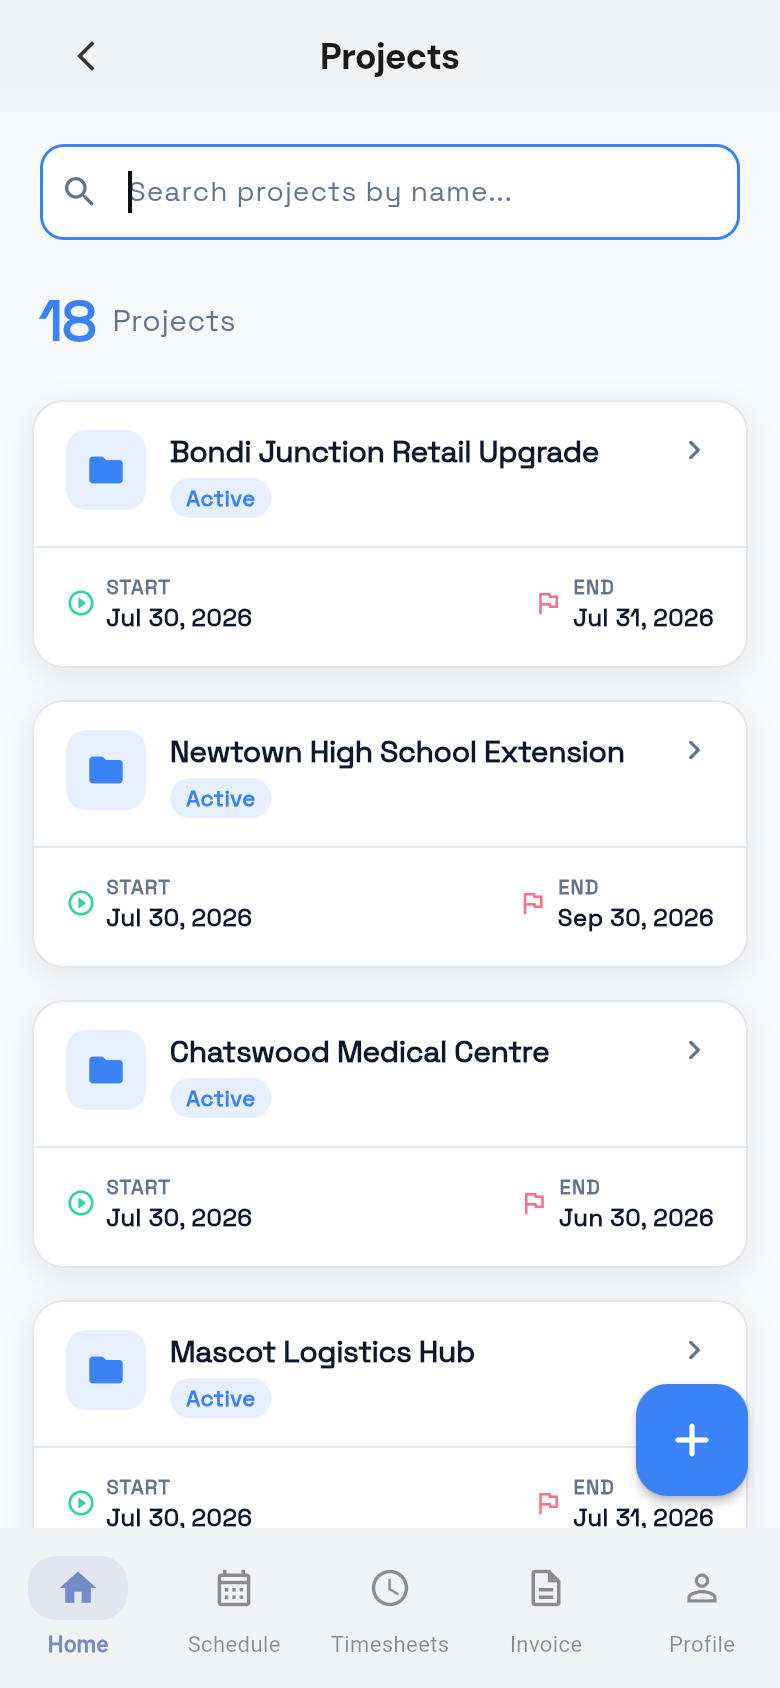
You see the list of projects. If there are none, you see No projects yet.
Create a project
Only site managers can create projects in the app. Have the project name, project number, start and end dates and the site address ready.
- Open Projects. Tap ☰, then tap Projects.
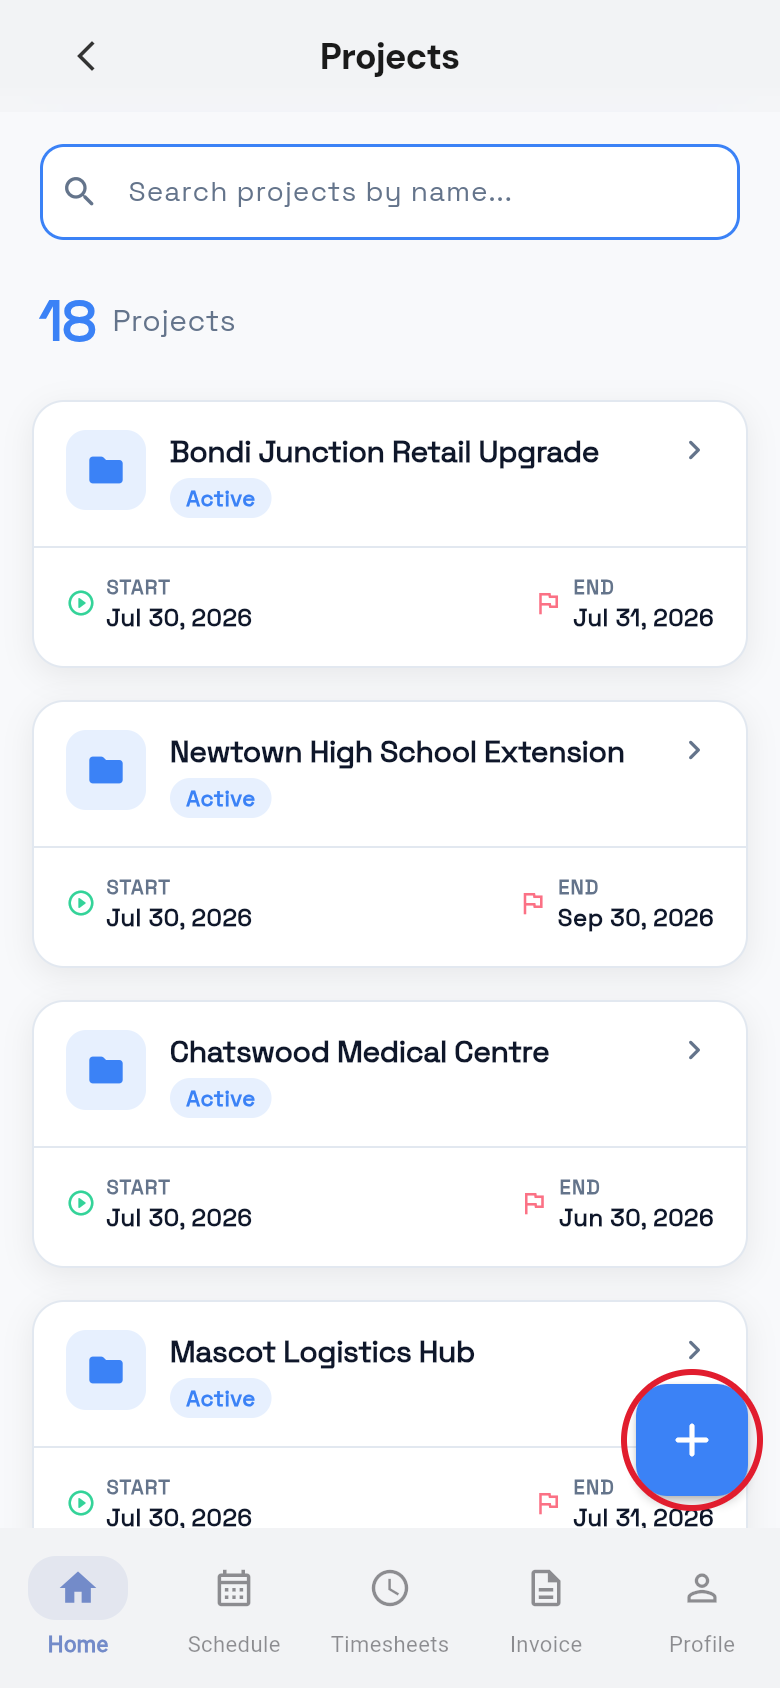
- Start a new project. Tap + in the bottom-right corner to open Project Create.
- Name the project. Type the name in Project Name *.
- Set the location. Under Location *, search the address or tap the map (see Set the site area on the map).
- Add number and currency. Fill in Project Number * and choose the Currency *.
- Pick the dates. Tap Start Date * and End Date * and pick the dates.
- Add a budget (optional). If you see Include Budget, turn it on to create a budget too.
- Set value and status. Enter the Project Value * and choose a Status *.
- Save the project. Tap Create Project.
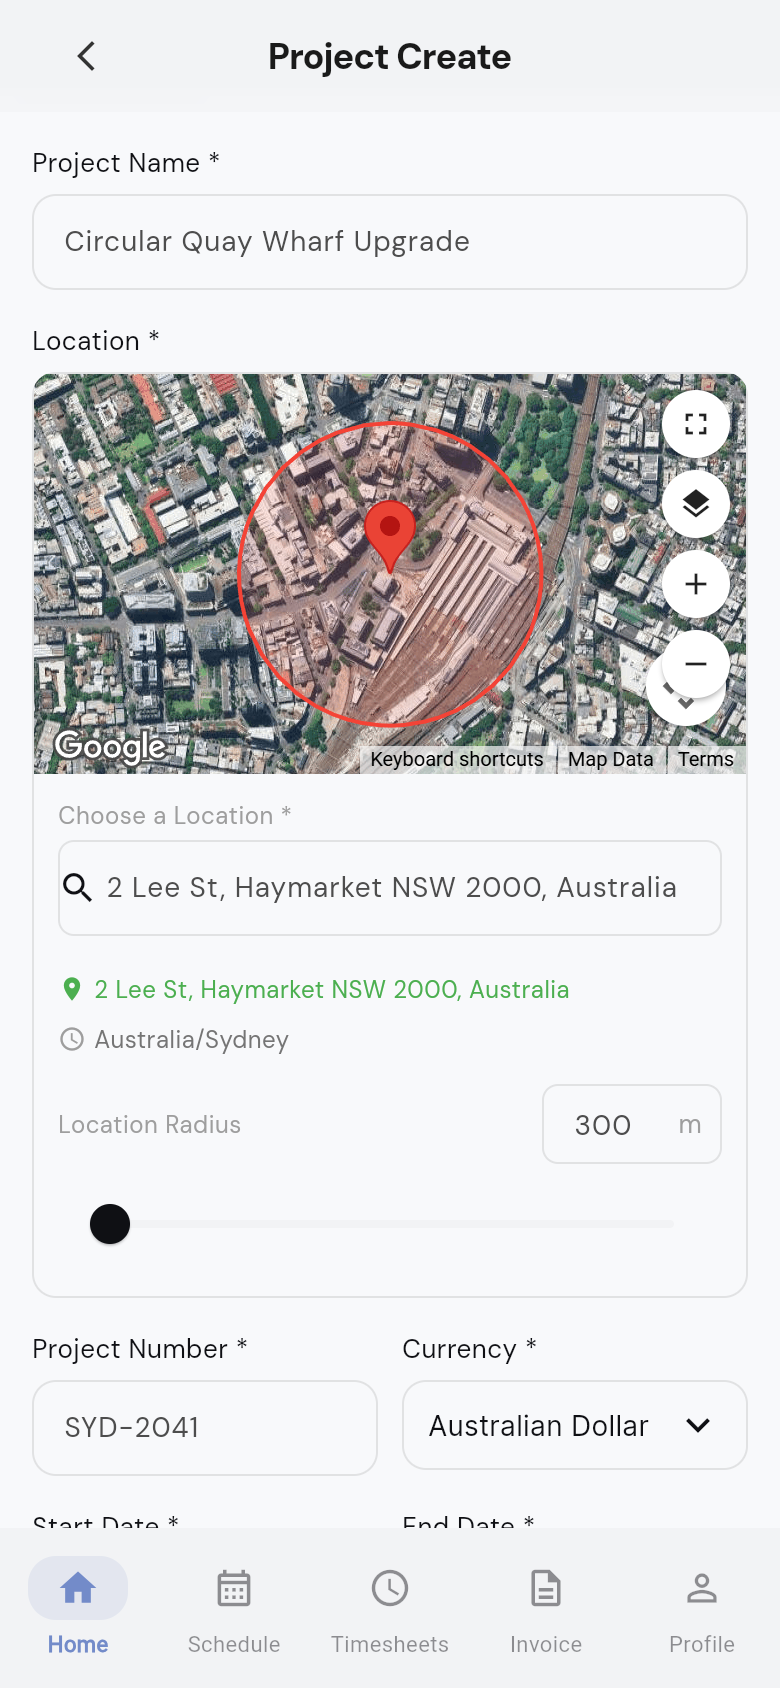
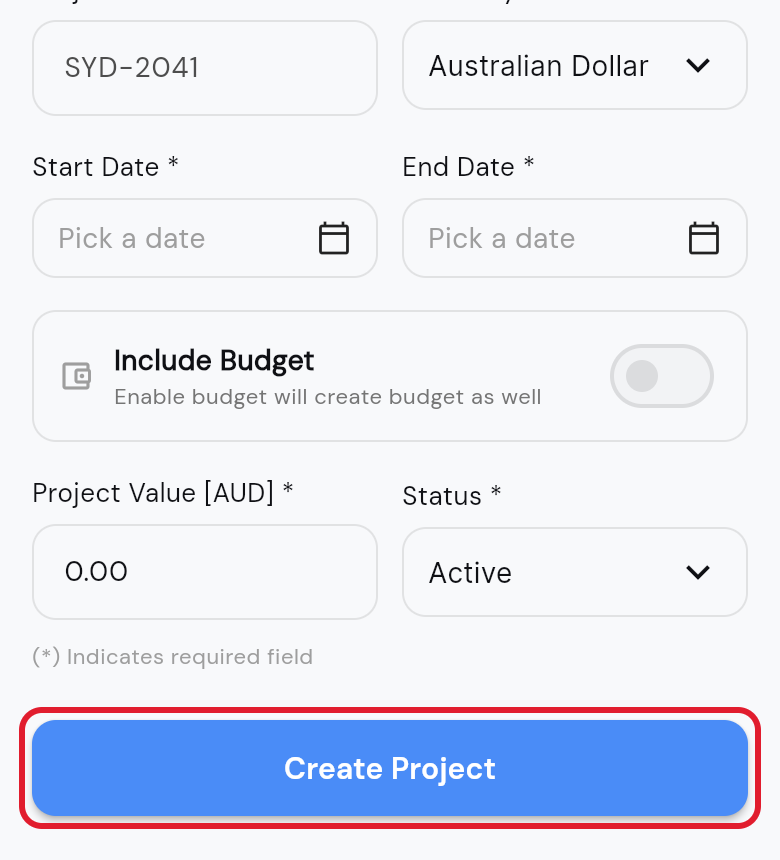
You see Project created successfully, and the new project is in the list.
| Field | What to enter |
|---|---|
| Location * | Where the site is. The red circle on the map is the site area. |
| Currency * | The money the project is priced in. AUD is chosen for you. |
| Include Budget | Only shows if your organisation uses budgets. Turn it on, then enter Budget Unit Cost * (for example the hourly rate) and Budget Quantity * (for example total hours). The Project Value is worked out for you. |
| Project Value * | The total value of the project. You can't type here when Include Budget is on. |
| Status * | Active, Pending, Completed or Delayed. Active is chosen for you. |
Set the site area on the map
The red circle on the map is the site area, set when you create or edit a project. If location is on for the app, the map starts where you are.
- Find the map. On Project Create or Project Edit, it is under Location *.
- Put the pin on your site. Use one of these ways:
- Type the address in Search place..., then tap the right place.
- Tap the map where the site is.
- Press and hold the red pin, then drag it to the site.
- Check the address. It shows in green, with the site's timezone (set from the pin) under it.
- Set the radius. Drag the Location Radius slider or type a number from 300 to 1000 m.
- Use the map buttons if needed. They are on the top-right of the map:
- Full-screen: a bigger map where you can also move the pin. Tap X to close it.
- Layers: changes the map style, for example to satellite.
- + and -: zoom in and out.
- Save. Finish the form, then tap Create Project or Save Changes.
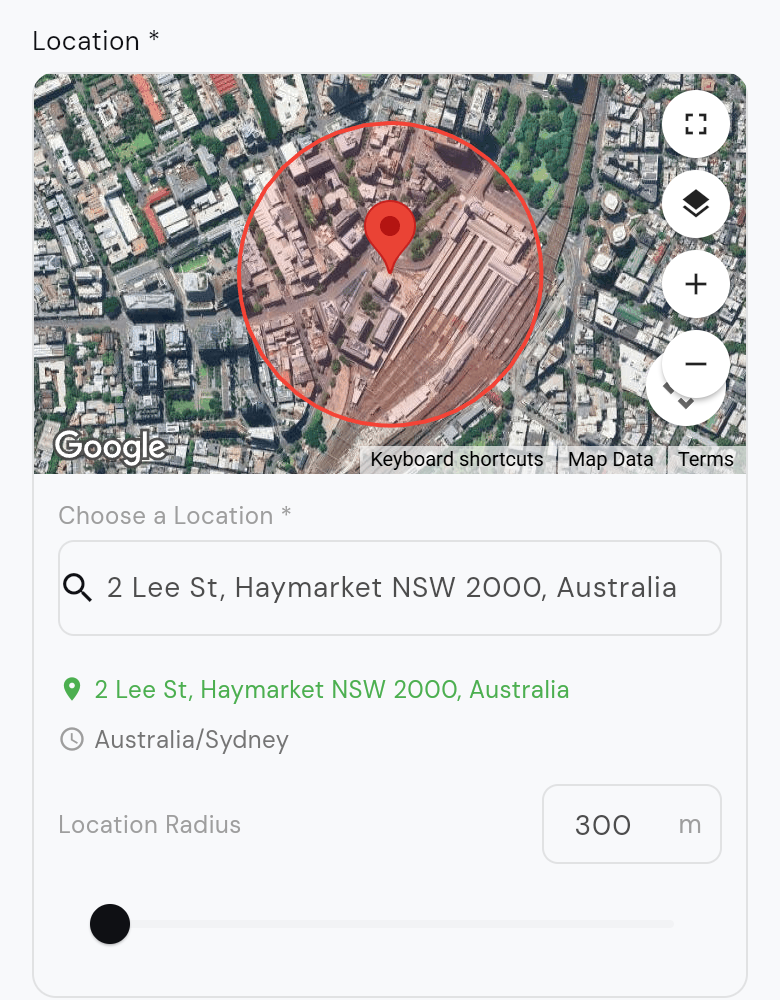
The site area is saved with the project.
This area is the site boundary. If breadcrumbing is on for the project, a worker who leaves it gets a notification, and is checked out automatically if they don't come back within 30 minutes. See Breadcrumbing.
Edit a project
Only site managers can edit projects in the app. You can change the details, or move the site area for one of the project's gates (entry points).
- Open Projects. Tap ☰, then tap Projects.
- Tap the project. Tap the one you want to change to open Project Edit.
- Change the name. Edit Project Name * if you need to.
- Choose a gate. Under Gate *, pick a gate (the first is chosen) to see it on the map.
- Move the site area. Change the Location * map (see Set the site area on the map).
- Update other details. Change Project Number, Start Date *, End Date * or Status * if needed.
- Save. Tap Save Changes.
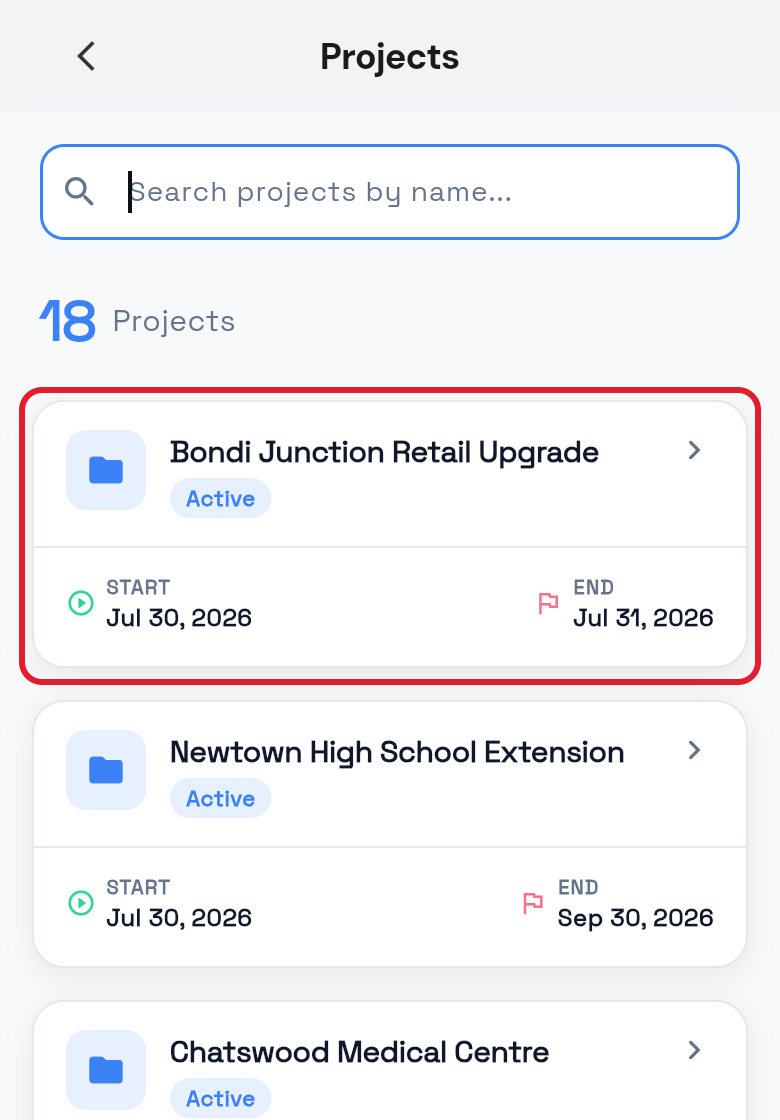
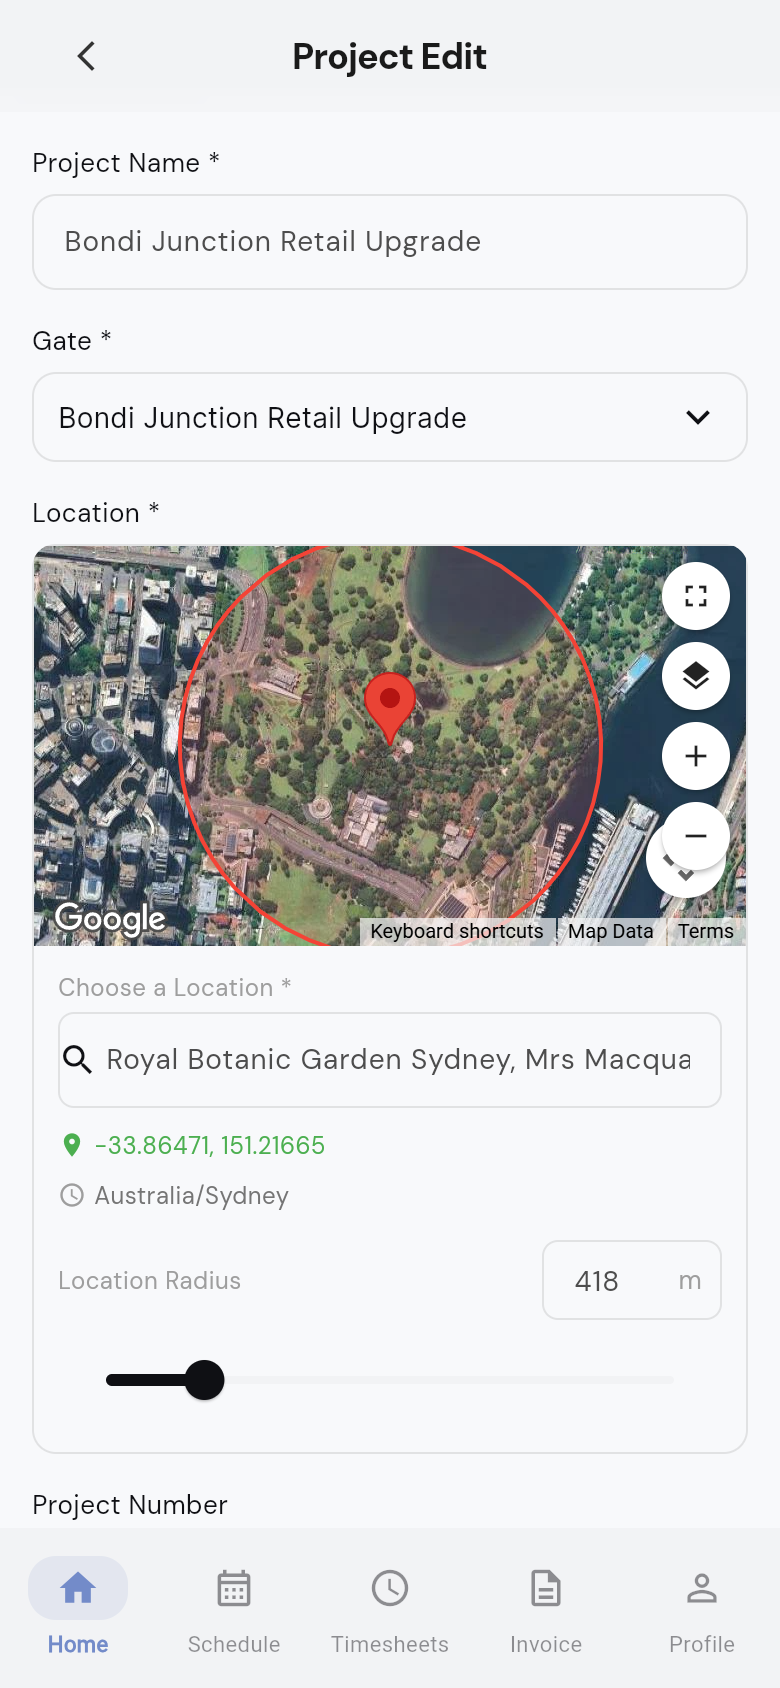
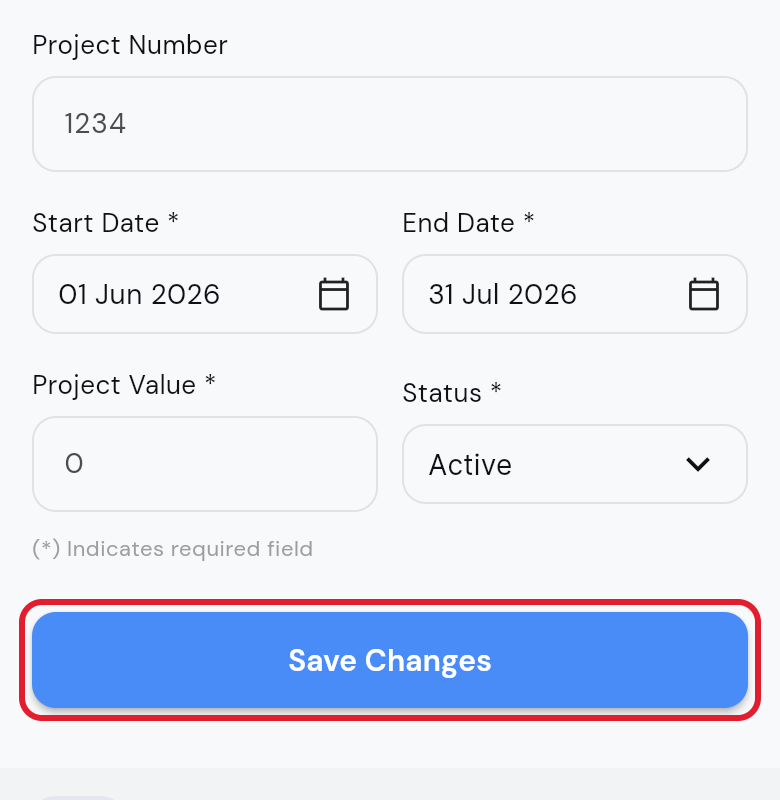
You see Project updated successfully, and the changes show on the project card. You can change one gate each time you save.
Questions and answers
Why can't I make the site area smaller than 300 m?
The site area must be between 300 and 1000 metres from the pin. Numbers outside this are changed to the nearest allowed number.
Can I add a new gate in the app?
No. You can only change the location of gates the project already has.