Send your subbie invoices
For internal subbies (subcontractors) who bill the organisation they work for. Only contractors who send invoices see Invoice in the bottom bar and side menu.
How invoices work
You raise an invoice after you finish work in a pay period. A pay period is weekly or fortnightly, depending on your organisation. Once the pay period ends, your timesheet hours for it are ready to invoice.
The app fills the invoice in for you from the hours you recorded when you checked in and out, at your hourly rate. You check it, fix anything that's wrong, and send it to your admin.
Before you start
Make sure your account details are complete. The app asks for them the first time you tap the round + on Invoices.
- Business Details. Type your ABN Number (11 digits), choose GST Include (Yes or No), then tap Next.
- Address Details. Fill in your address, then tap Save Address.
- Client Information. This is filled in for you, so tap Next.
- Bank details. Fill in Bank Name, BSB, Account Number and Account Holder Name, then tap Save Bank Details.
You only do this once. To change your bank details later, tap Profile > Bank.
Create and send an invoice
- Start a new invoice. Tap Invoice in the bottom bar, then the round + in the bottom-right corner.
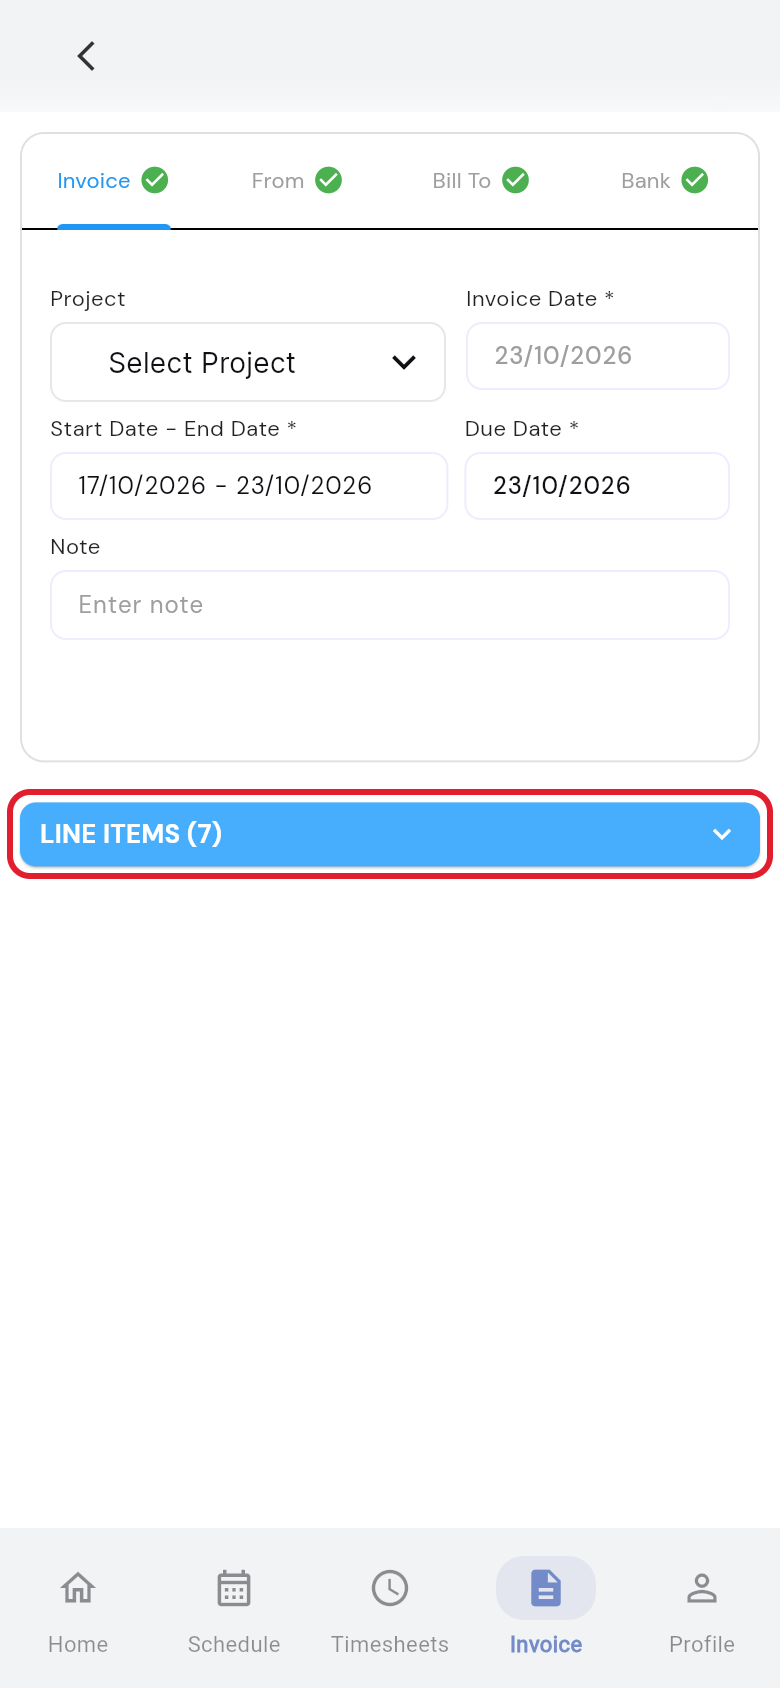
- Select the pay period. Pick its first and last day in Start Date - End Date *.
- Select the project. Choose the project you worked on in Project.
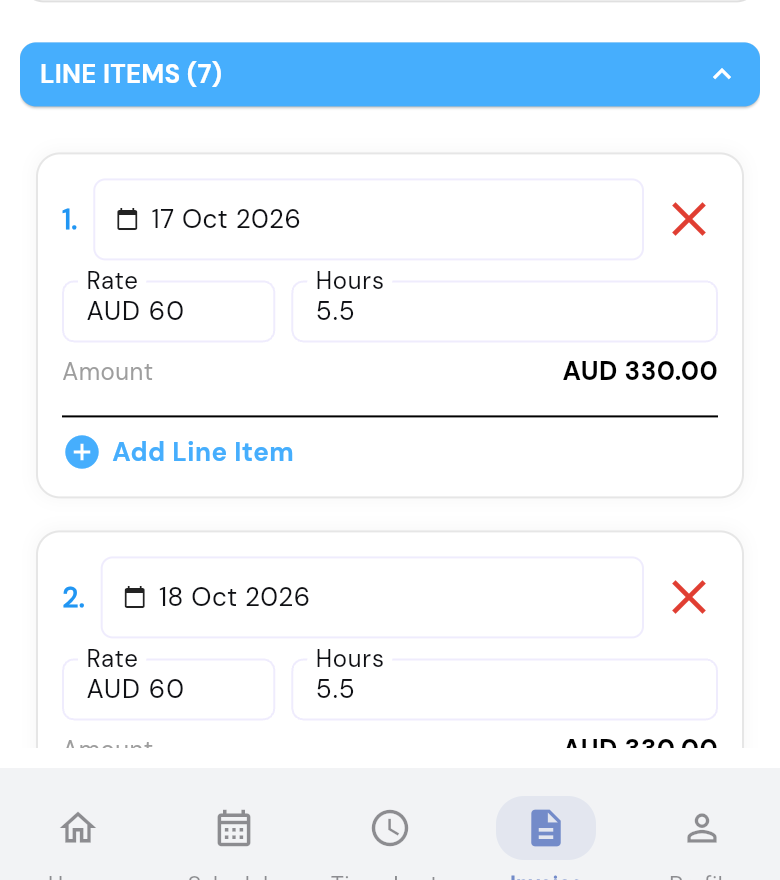
- Tap LINE ITEMS. Each day of the pay period is filled in with your timesheet hours and hourly rate.
- Check each line. Correct the Hours, and the Rate if your pay rate changed.
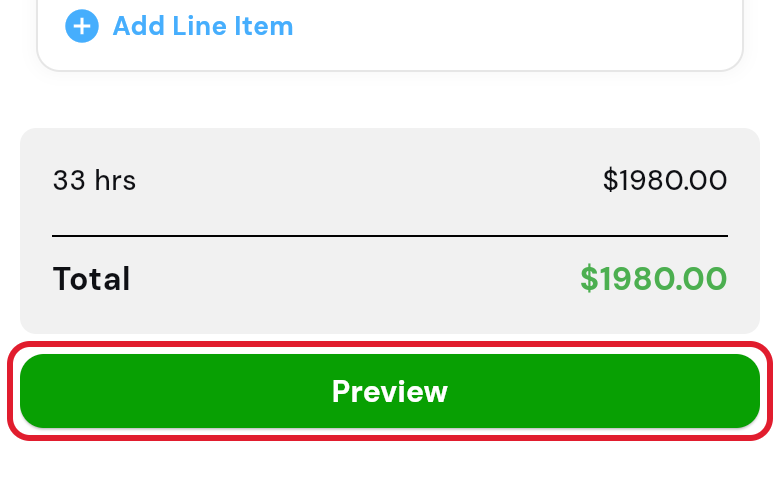
- Preview it. Tap Preview. To change something, tap the back arrow and edit it.
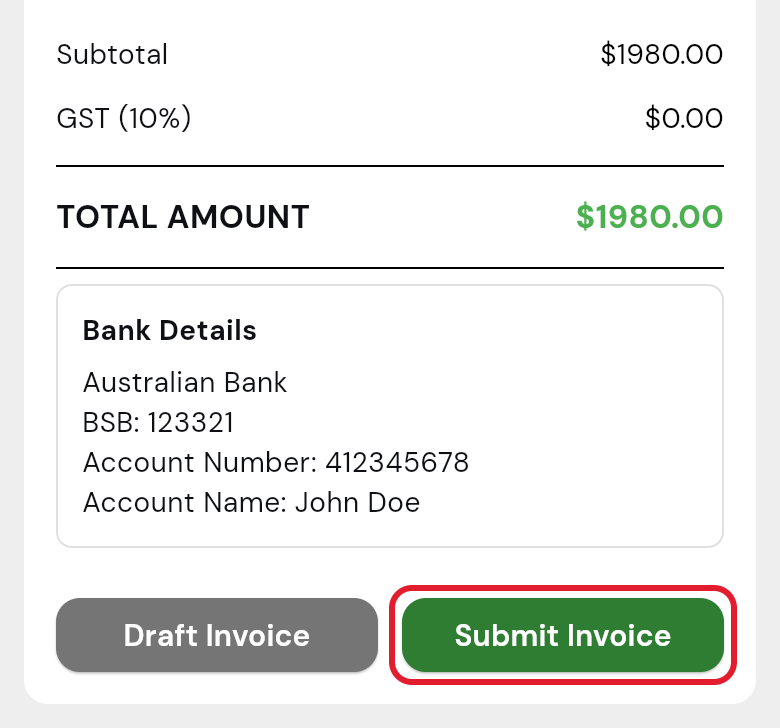
- Send it. Tap Submit Invoice to send it to your admin, or Draft Invoice to finish it later.
- Download it. Tap the blue download icon on the invoice card to get the PDF.
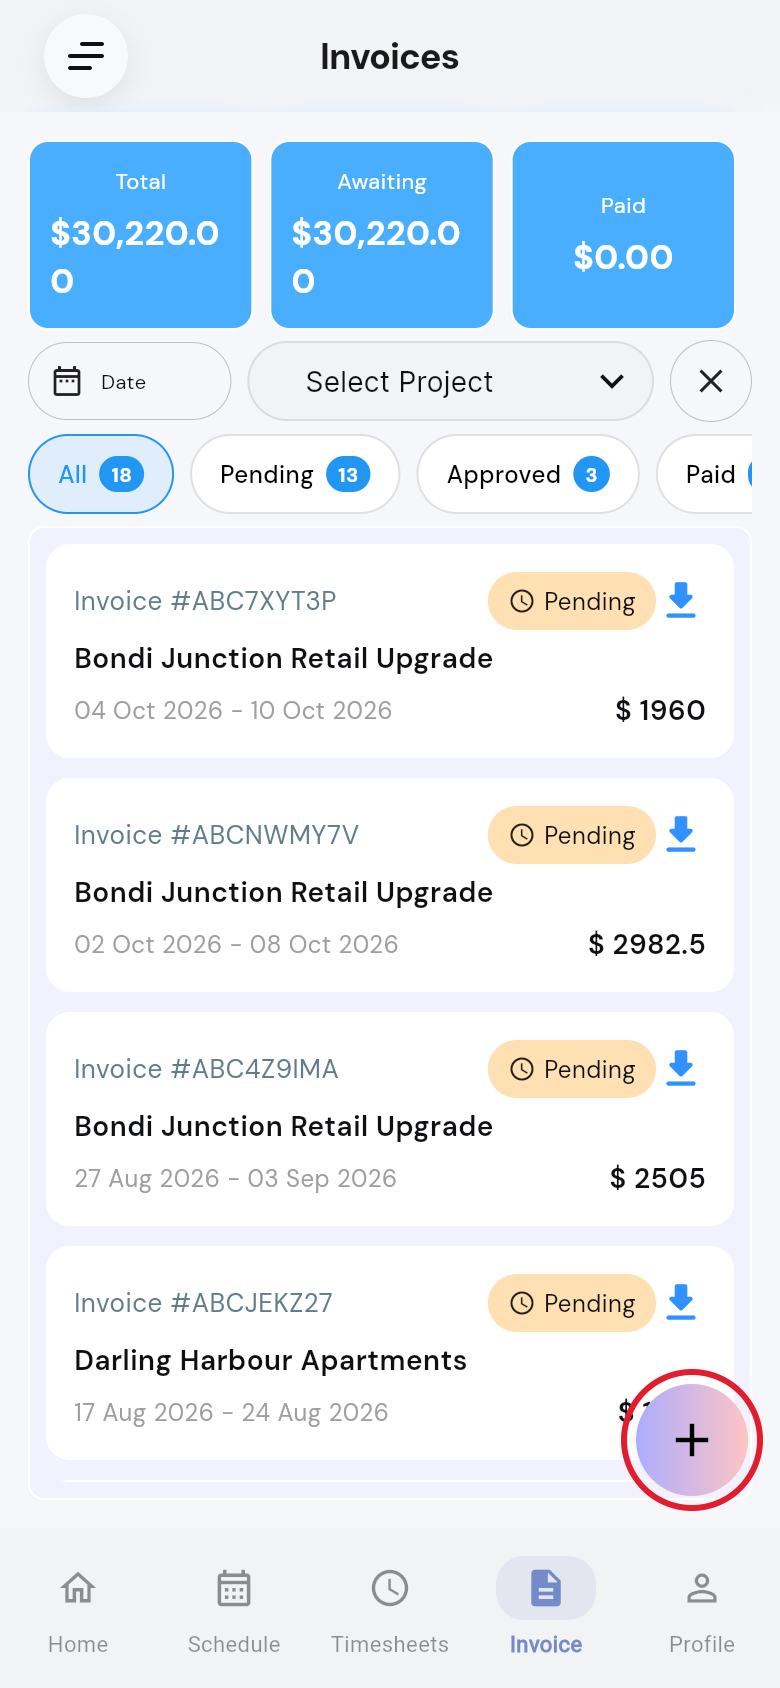
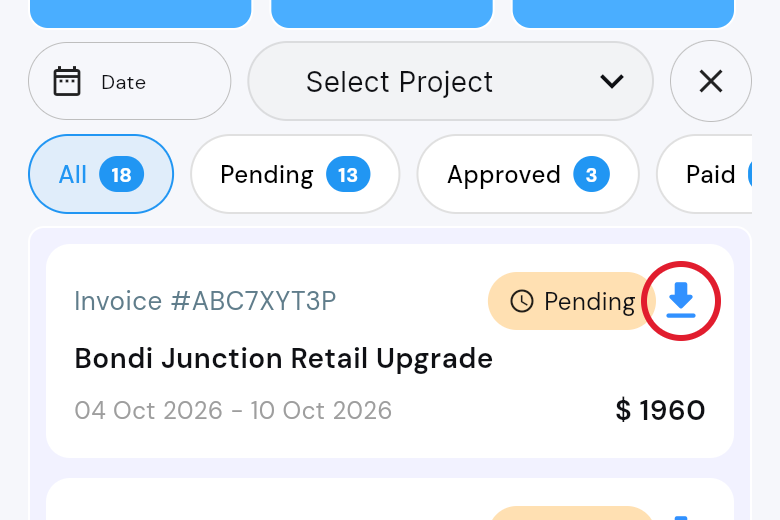
Once you submit it, the invoice shows as Pending and your admin can see it in SwiftCheckin on the web. They review it and approve it, or send it back to you for correction. Drafts can't be downloaded until you submit them.
Add another line when part of a day was paid at a different rate.
For example, on Monday you worked 8 hours at your normal rate and 2 hours of overtime:
- Line 1: Monday, 8 hours at your normal rate.
- Line 2: tap Add Line Item under Monday, then enter 2 hours at the overtime rate.
Preview an invoice
Tap Invoice in the bottom bar, then tap any invoice card to see the full invoice, including its line items, totals and any Notes from your admin.
Edit an invoice
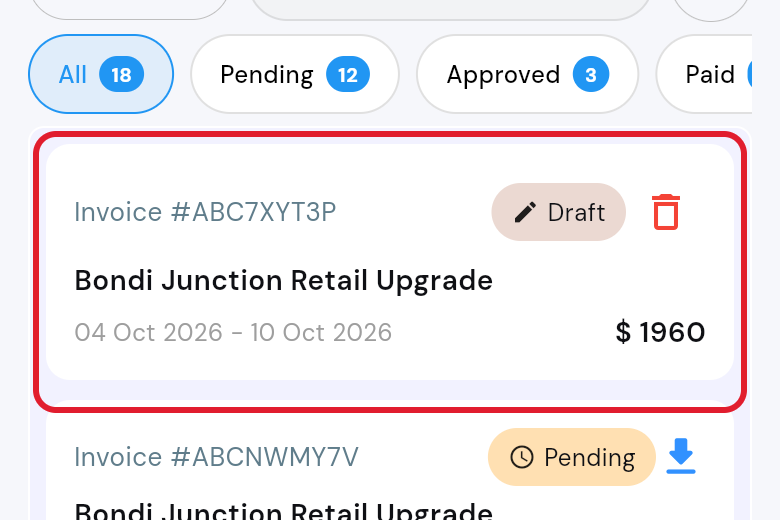
You can edit an invoice while it is Draft, Pending or Correction request.
- Open the invoice. Tap Invoice in the bottom bar, then tap the invoice.
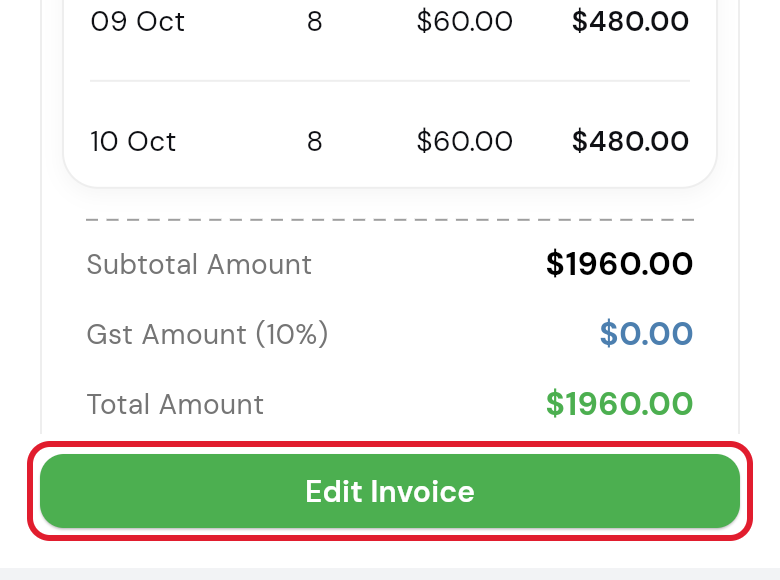
- Tap Edit Invoice. It's at the bottom.
- Make your changes. Change the pay period, project or LINE ITEMS, as for a new invoice.
- Send it again. Tap Preview, then Submit Invoice.
If your admin sent it back for correction, read their Notes first.
Delete a draft invoice
- Open your drafts. Tap Invoice in the bottom bar, then the Draft tab.
- Tap the bin. Tap the red bin icon on the draft.
- Confirm. Tap Delete.
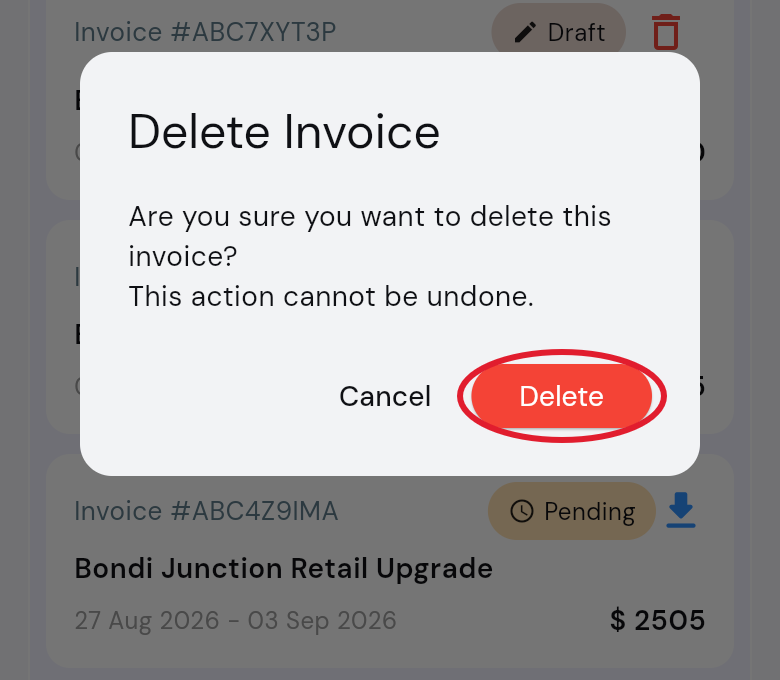
Only drafts can be deleted, and this can't be undone.
Invoice status
| Status | What it means |
|---|---|
| Draft | Saved but not sent. |
| Pending | Sent to your admin. Waiting for review. |
| Correction request | Your admin wants you to change something. Read the Notes, then edit and submit it again. |
| Approved | Approved and waiting to be paid. |
| Paid | Your organisation has paid it. |
| Overdue | The due date has passed and it isn't paid yet. |
| Rejected | Your admin did not accept it. |