Your account
Keep your details up to date and choose which organisation you work under. For everyone who uses the app.
Switch organisation
If you work for more than one organisation, choose which one you work under. The app then shows its sites, timesheets and settings.
- Open Profile. Tap Profile in the bottom bar.
- Tap Switch Organization. It's under ACCOUNT.
- Pick the organisation. Tap the one you want. The one you're using now has a tick.
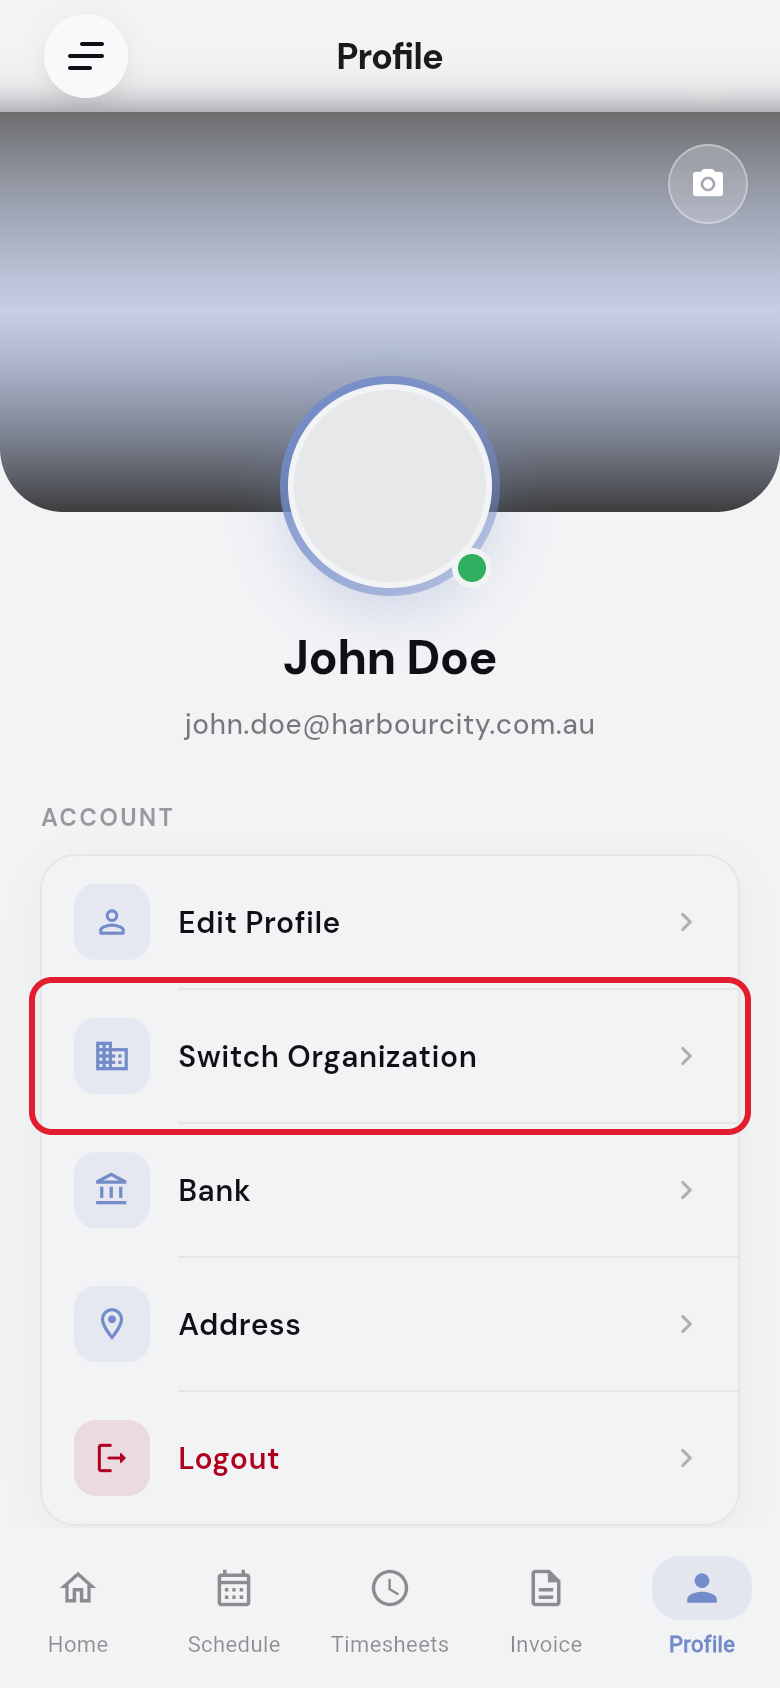
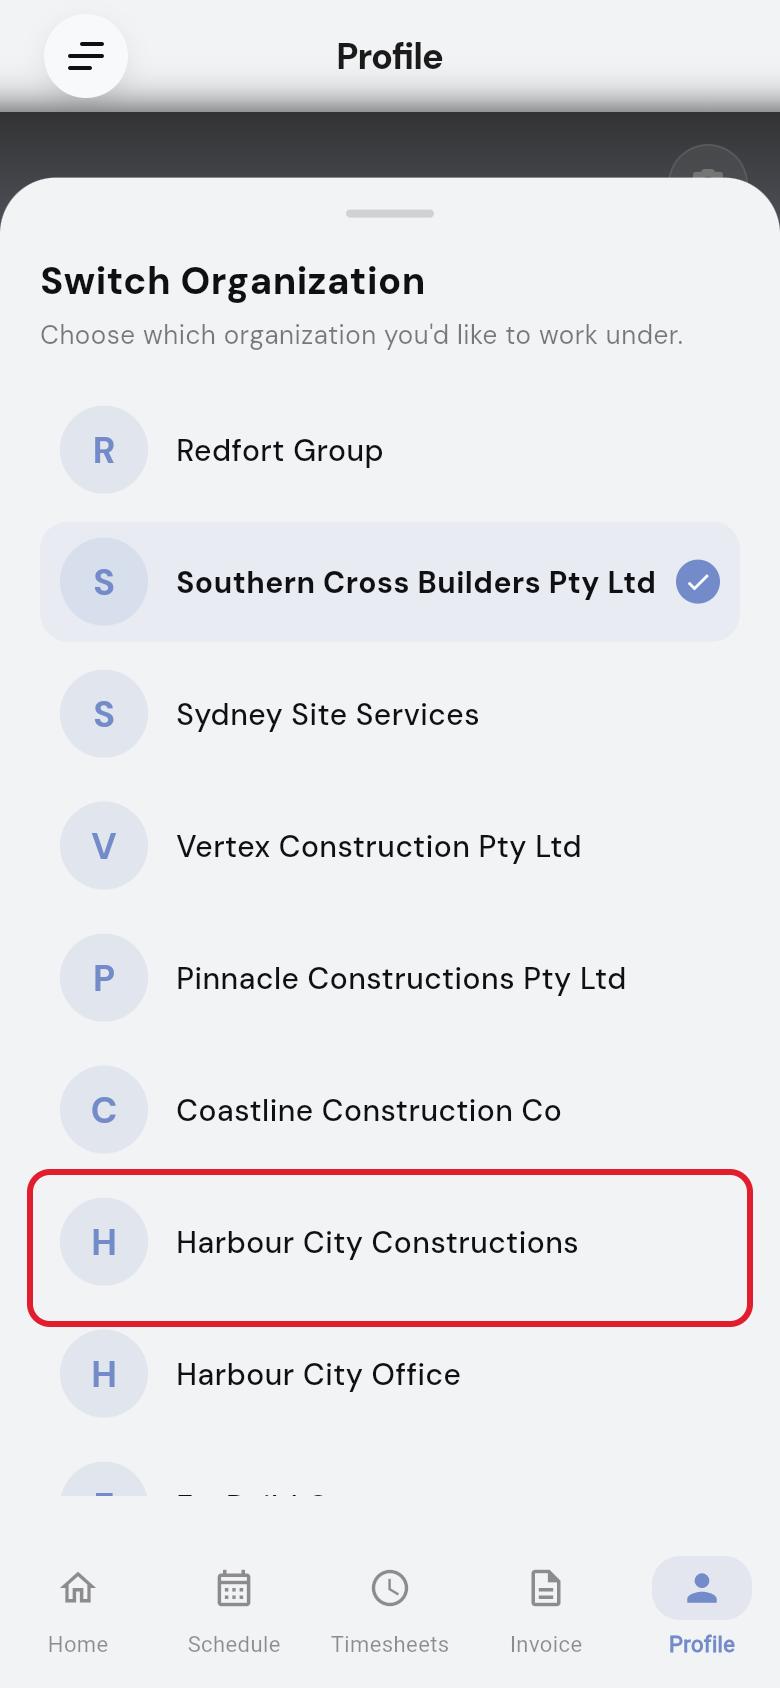
The app loads the new organisation, and the side menu shows its name under yours.
Change your name or email
- Open Profile. Tap Profile in the bottom bar.
- Tap Edit Profile. It's under ACCOUNT.
- Change your details. Edit First Name, Last Name or Email.
- Tap Update. Your changes are saved.
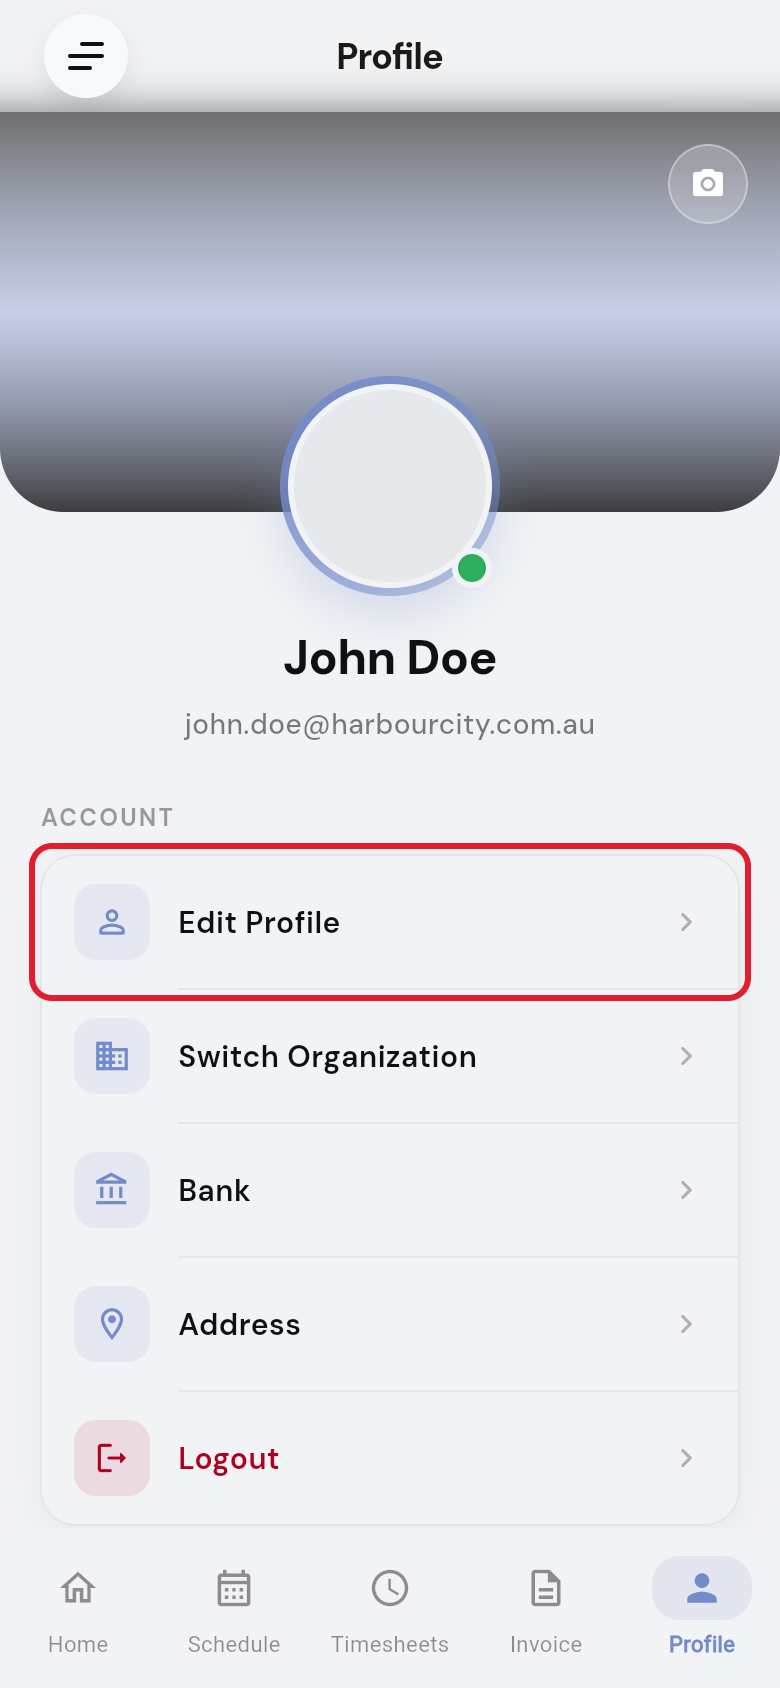
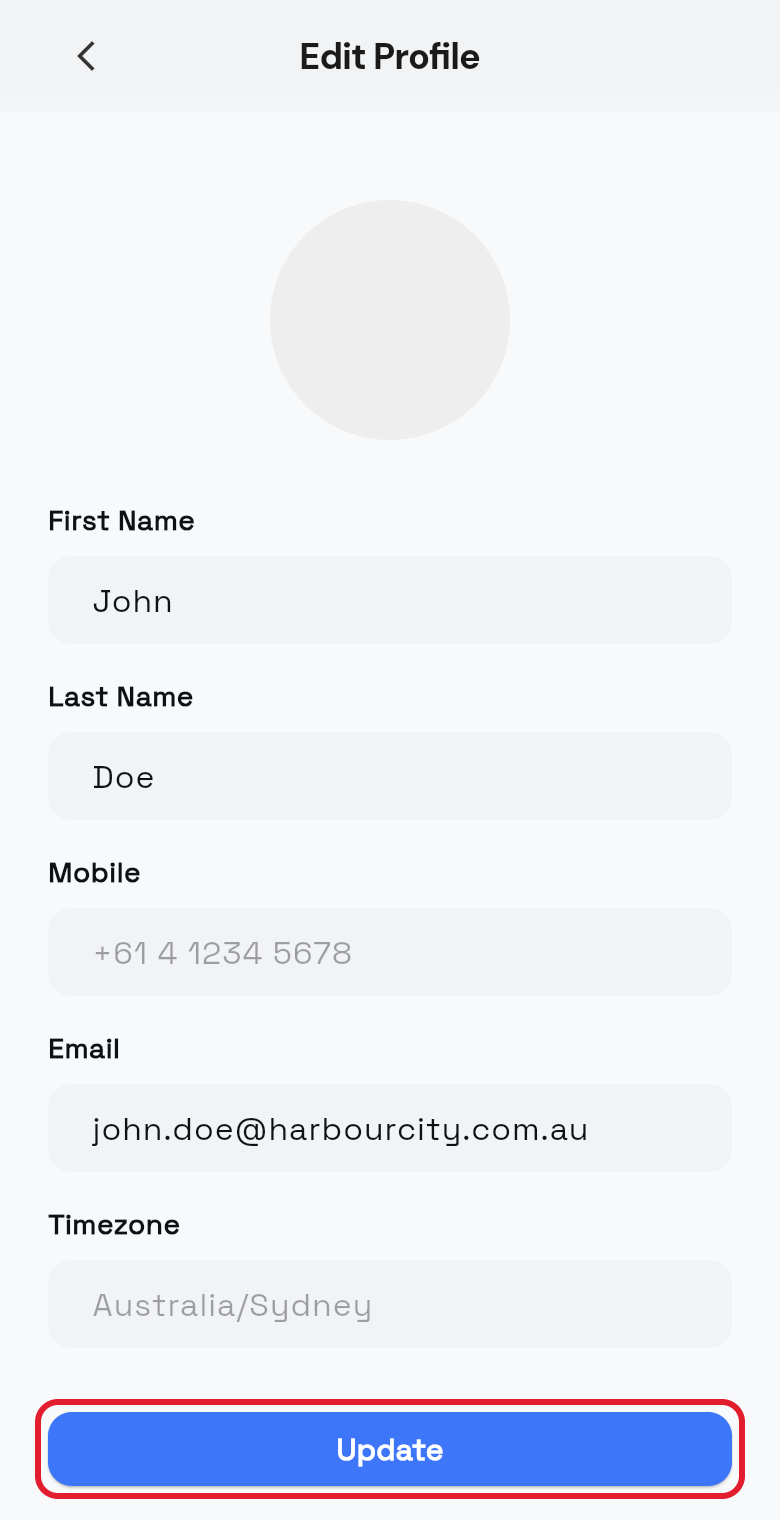
You see User details updated successfully and your profile shows the new details.
Change your profile photo
The app needs permission to see your photos. Allow it in your phone's settings if asked.
- Open Profile. Tap Profile in the bottom bar.
- Tap the camera button. It's on your photo.
- Choose a photo. Pick one from your phone.
- Crop it. On Crop Image, move and resize the box to frame your face.
- Tap the tick. Tap ✓ in the top-right corner.
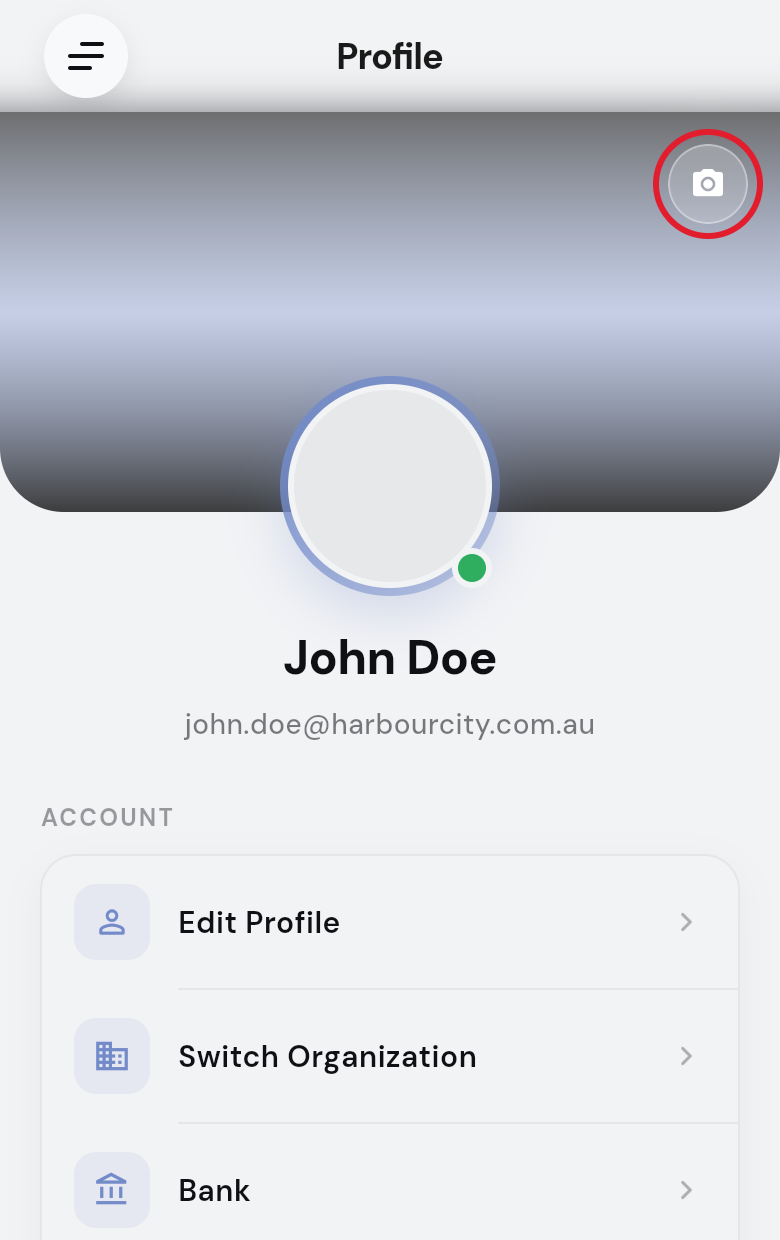
You see Profile image updated successfully. Your new photo shows on your profile and in the side menu.
Update your address
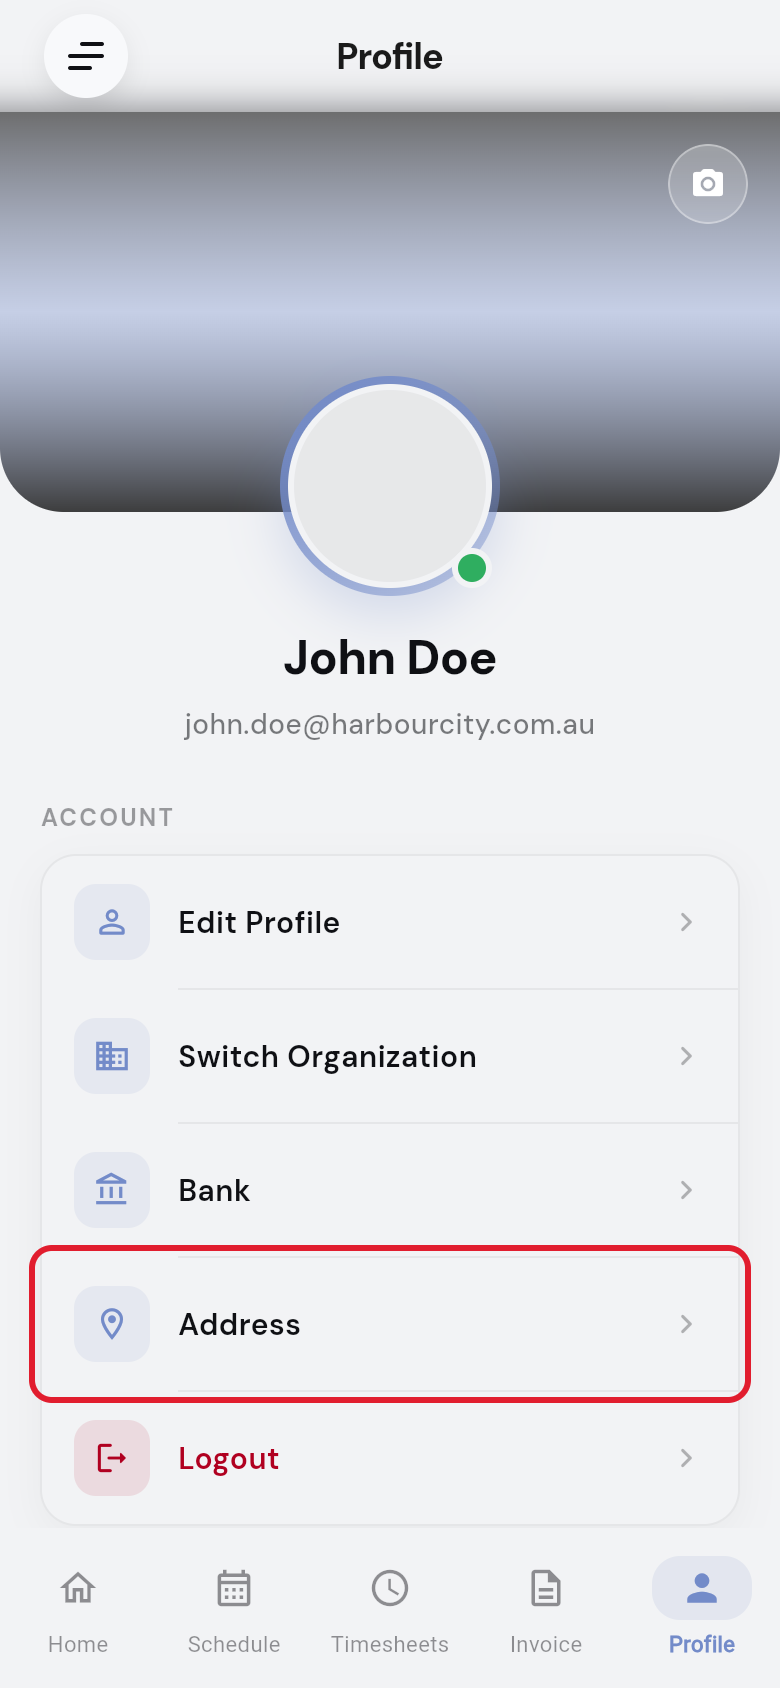
- Open Profile. Tap Profile in the bottom bar.
- Tap Address. It's under ACCOUNT. Address Information opens.
- Fill in your address. Enter Address Line 1, City and State.
- Add a unit if needed. Use Address Line 2 (Optional) for a unit or level.
- Choose your country. Pick it in Country.
- Add your postcode. Fill in ZIP / Postcode.
- Tap Update Address. Your address is saved.
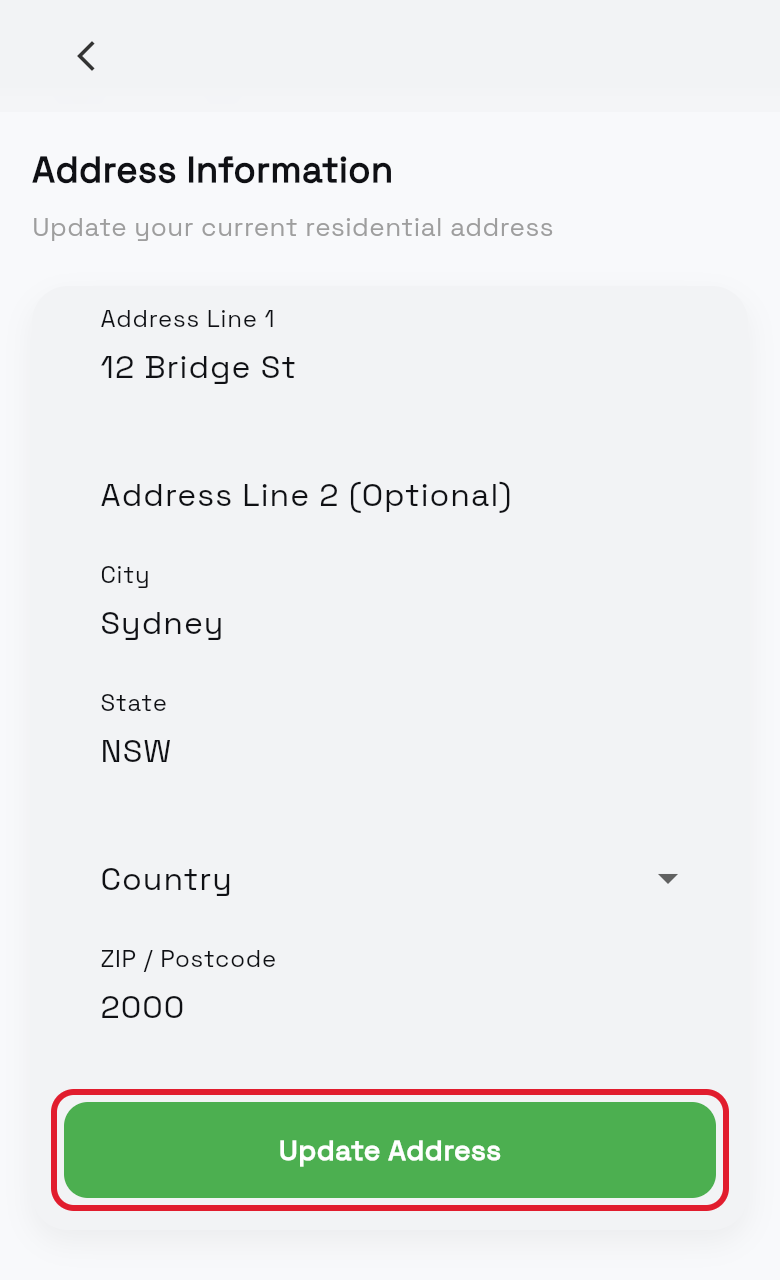
You see Address saved successfully! Every field except Address Line 2 (Optional) must be filled in, or you see Required or Country is required.
Delete your account
Deleting your account is permanent. You lose all your data and can no longer log in. If you only want to stop using the app on this phone, log out instead.
Check out of any site first, and talk to your organisation if you still have hours, leave or invoices to sort out.
- Open Profile. Tap Profile in the bottom bar.
- Scroll to the bottom. Find the Delete Account card.
- Tap Delete Account. A confirmation box opens.
- Confirm. In Delete Account?, tap Delete.
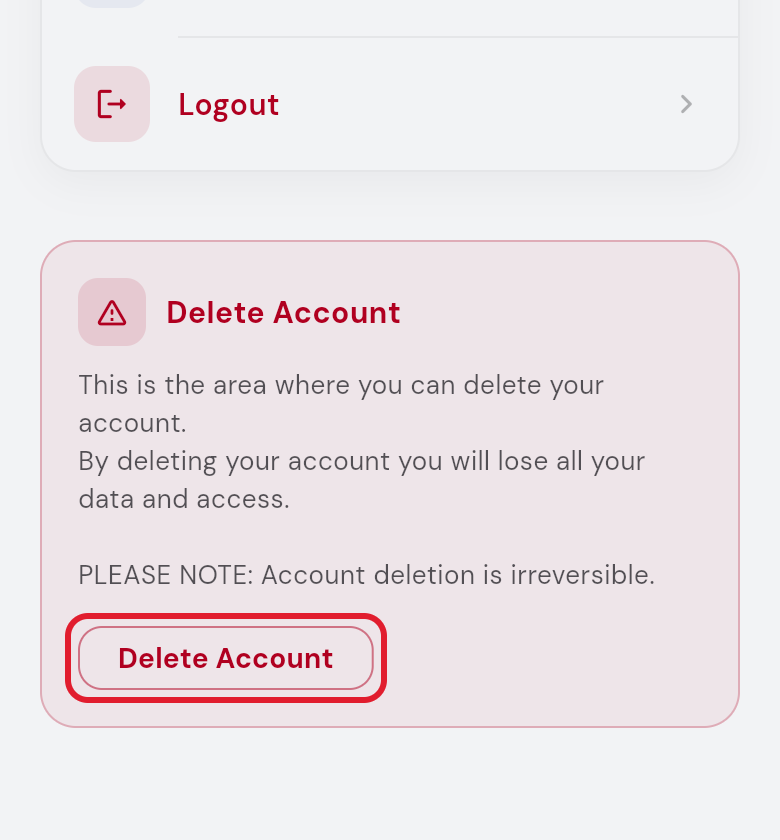
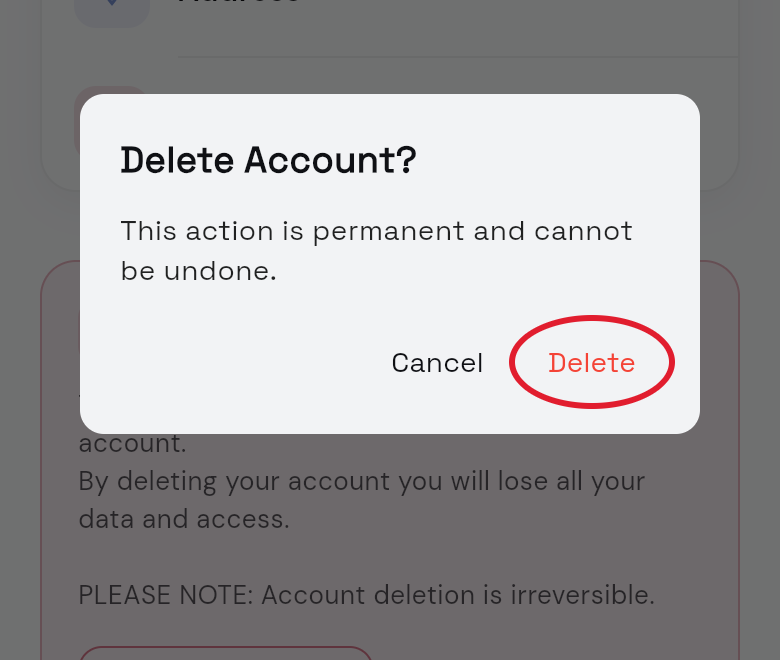
You see Account deleted successfully, then the app logs you out.
Questions and answers
Why can't I change my mobile number or timezone?
Mobile and Timezone can't be changed on Edit Profile; contact your organisation to change your mobile number. If Home shows Timezone Mismatch, tap Update Timezone.
I deleted my account by mistake. Can I get it back?
No. To use SwiftCheckin again, create a new account and ask your organisation to invite you again.