
To upload timesheets into your MYOB account, you’ll first need to configure the export format in your SwiftCheckin settings.
This setup is important because MYOB uses custom field names for payment processing. You’ll need to map SwiftCheckin fields to MYOB fields correctly — otherwise, imports may fail.
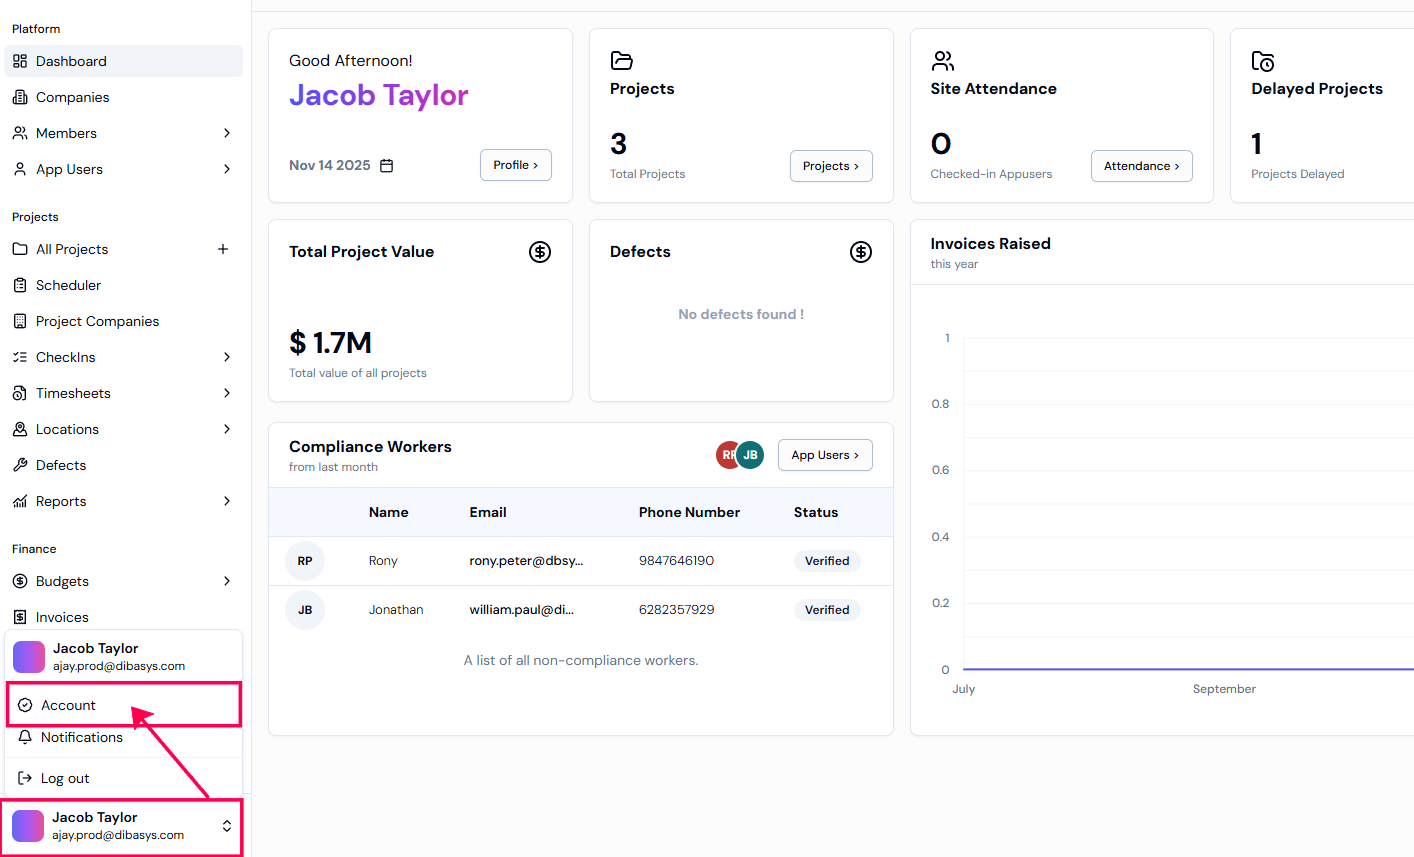
Step 1: To access ‘Settings,‘ Select your profile in the bottom left-hand corner of your screen. Select ‘Account’ to view general settings.
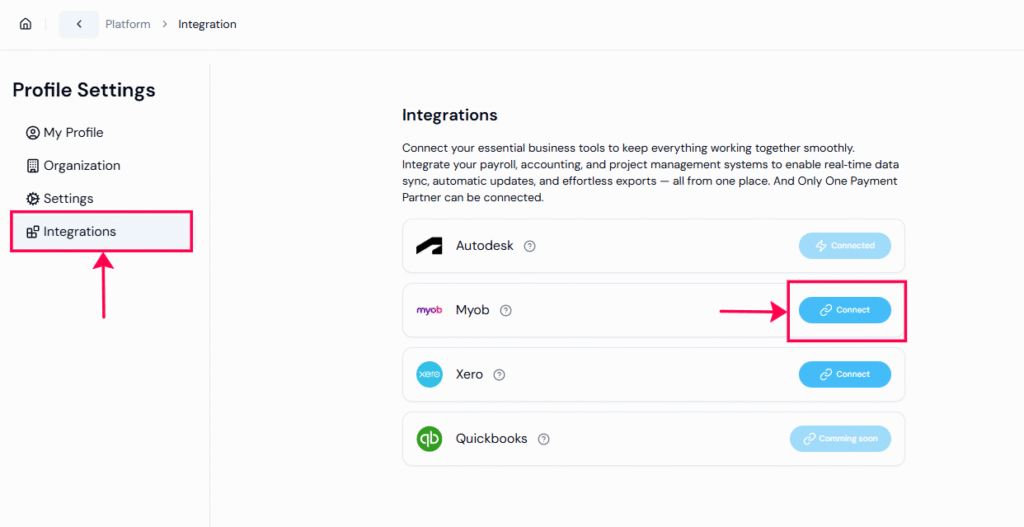
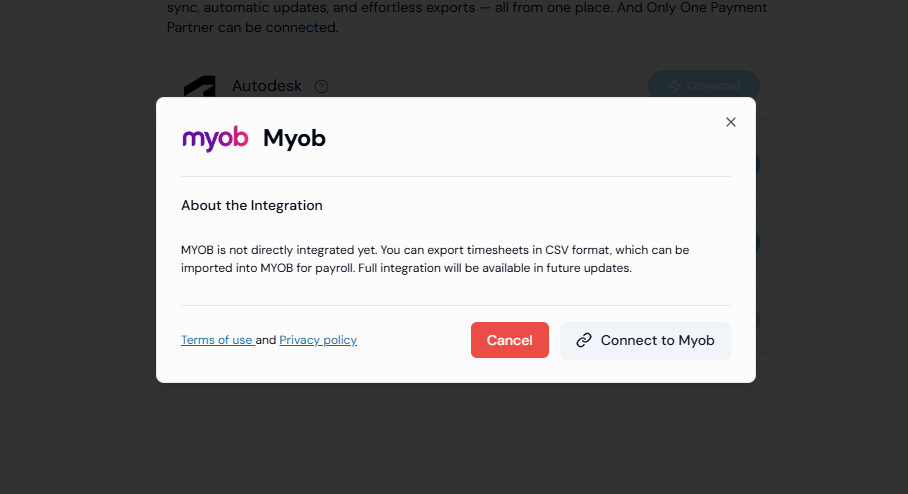
Step 2: Go to the “Integrations” section to see all available partners. To link your MYOB account, simply click the “Connect” button next to MYOB.
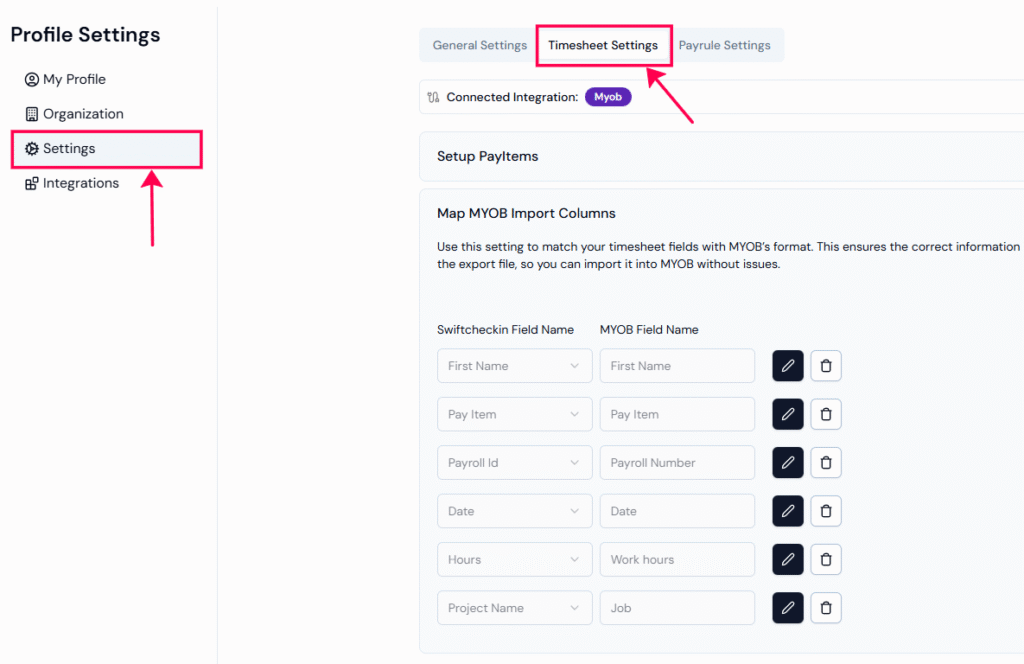
Step 3: Go back to “Settings” and select “Timesheet Settings” to view the MYOB timesheet settings.
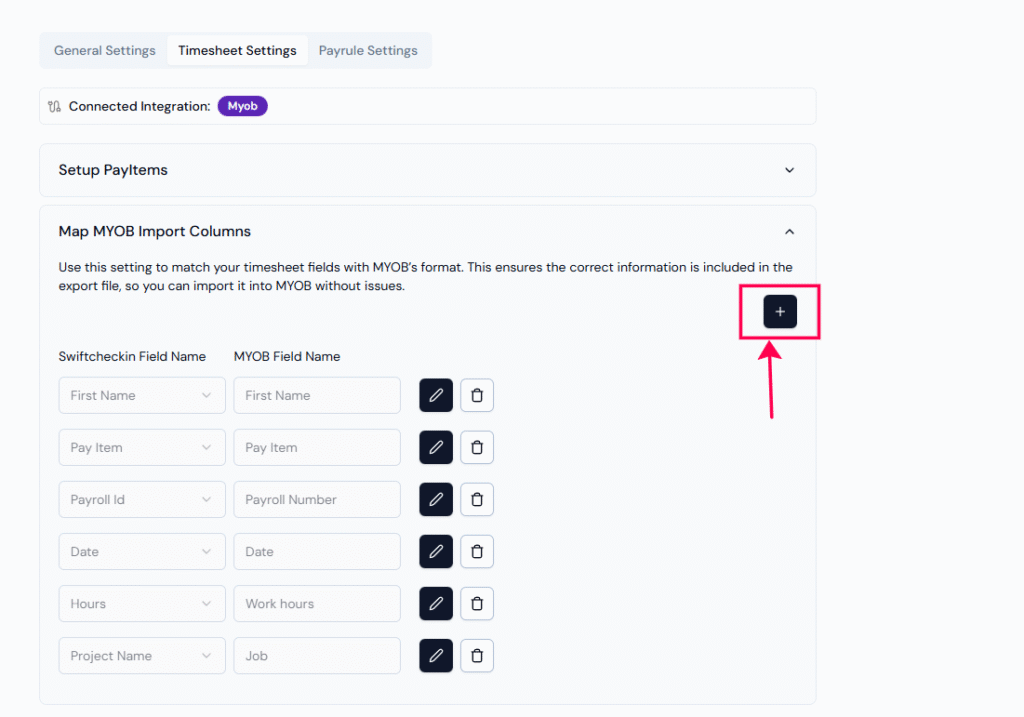
Step 4: Click on the “+” icon on the right side to create new fields for you to match with your “Myob” columns.
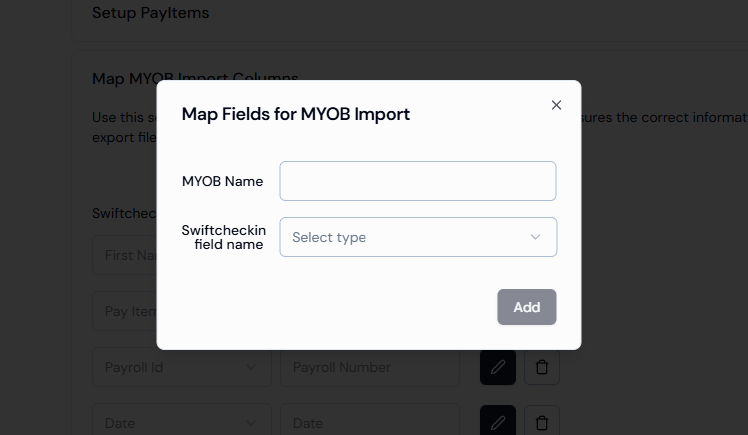
Enter the MYOB field name and match it with the corresponding SwiftCheckin field name.
Make sure the field names and formats match exactly as required by MYOB — incorrect titles may cause the import to fail.
Step 5: Click Add to apply and save the fields to your account
At least one field mapping must be present — the list cannot be empty.
Want to learn how to export timesheets? Click here!
RELATED POSTS
View all